
Spring has finally sprung and warmer weather campers have started to emerge from hibernation (myself included). After months of planning adventures and getting giddy about heading into the hills, I […]
New Products - Reviews - Staff Review
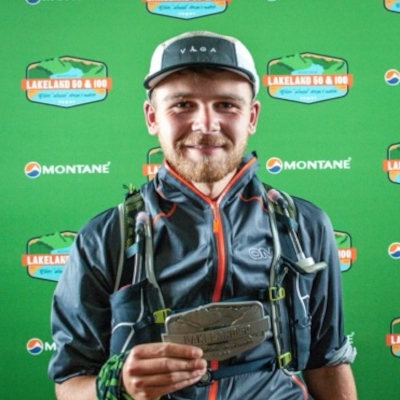
The OMM Kamleika
Me at the finish of the Lakeland 50 Ultra 2022 – Photo by Olivia Crankshaw The Kamleika jacket is a waterproof running jacket produced by the brand OMM, a brand […]
Trips & Events
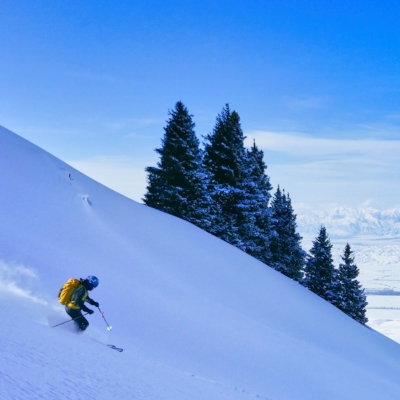
Kyrgyzstan Ski Touring
I recently went on a group trip to the Tien Shan mountains in Kyrgyzstan organised by Alpine Guides. Had an amazing time with a great bunch of people, half of […]
Trips & Events
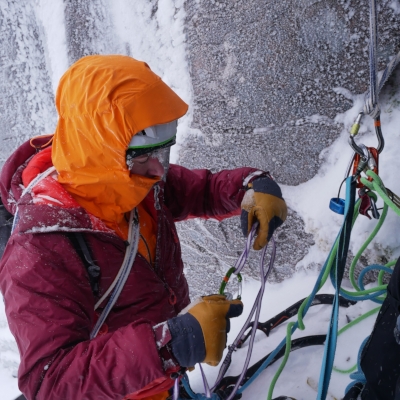
Scottish Winter Climbing – Jan 2024
With a winter climbing itch to scratch and some very cold temperatures forecast in the Cairngorms Myself and two of my regular climbing partners Lukasz & Martin headed up to […]
Competitions

LEARN & WIN! A Black Diamond Avalanche Transceiver
We have teamed up with Black Diamond to offer one keen backcountry skier a Black Diamond Recon X Avalanche transceiver. All you have to do is read our guide to […]
Trips & Events
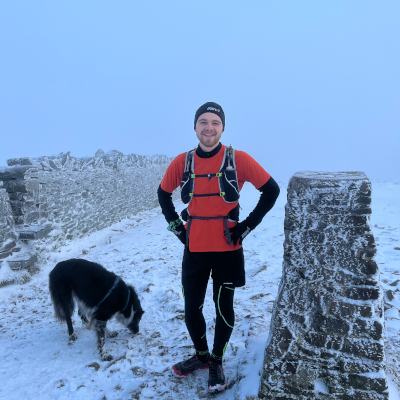
Snowy Yorkshire 3 Peaks
Sunday 3rd December 2023 After both mine and Andy’s plans fell through for the weekend, we found ourselves with a free Sunday, which we decided to fill with a snowy […]
Articles - General
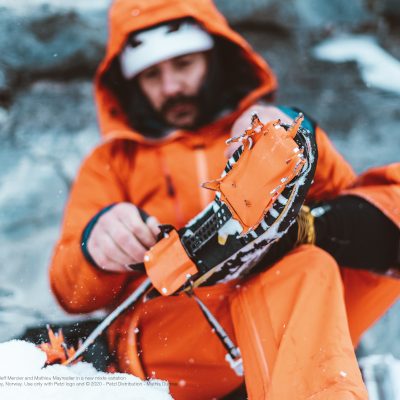
Petzl ALPEN ADAPT Crampon System
Traditionally Crampons have been separated into 3 categories: C1 or ‘strap’ crampons go with B1 boots. They require no special features on the boot thanks to their flexible strap attachment […]
Competitions

WIN! – A Winter Skills Day
Win a Winter skills day with the Lake District Fell Top Assessors and La Sportiva. To celebrate the launch of La Sportiva’s Alpine Tech range of technical mountaineering clothing we’ve […]
Trips & Events
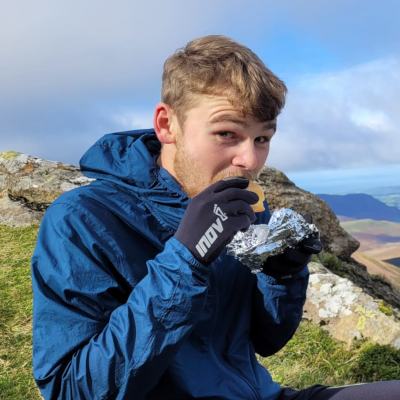
George Fisher Tea Round – October 2023
A spontaneous decision the day before had me and Andy heading for the front door of George Fisher on Sunday (15/10/2023) to embark on our first attempt of the George […]